RV Leveling 101: Blocks vs Jacks vs Levelers
If your RV rocks when you walk across it or your fridge won't cool properly at the campsite, it's probably not level. Getting your rig level matters more than most new owners expect, and the tools people use to do it, blocks, jacks, and levelers, all do different jobs. Mixing them up is one of the most common mistakes RVers make, and it can lead to a wobbly night's sleep at best or a damaged frame at worst.
This guide breaks down what each tool actually does, when you need it, and how to put them together so your trailer sits level from the moment you park.
Why Leveling Your RV Actually Matters
A level RV isn't just about comfort, though a flat floor does make for better sleep and fewer rolling coffee mugs. Absorption refrigerators, the kind found in most travel trailers, rely on gravity to circulate cooling fluid. Park on a slope for too long and the fridge can struggle to cool, or in bad cases, take permanent damage.
Leveling also protects the trailer itself. Parking off-level for an extended stay puts uneven stress on the frame and suspension, which adds up over a season of camping. And once you're set up, an unlevel RV makes doors swing open on their own and drawers slide out, small annoyances that get old fast on a long trip.
RV Leveling Blocks: What They Do
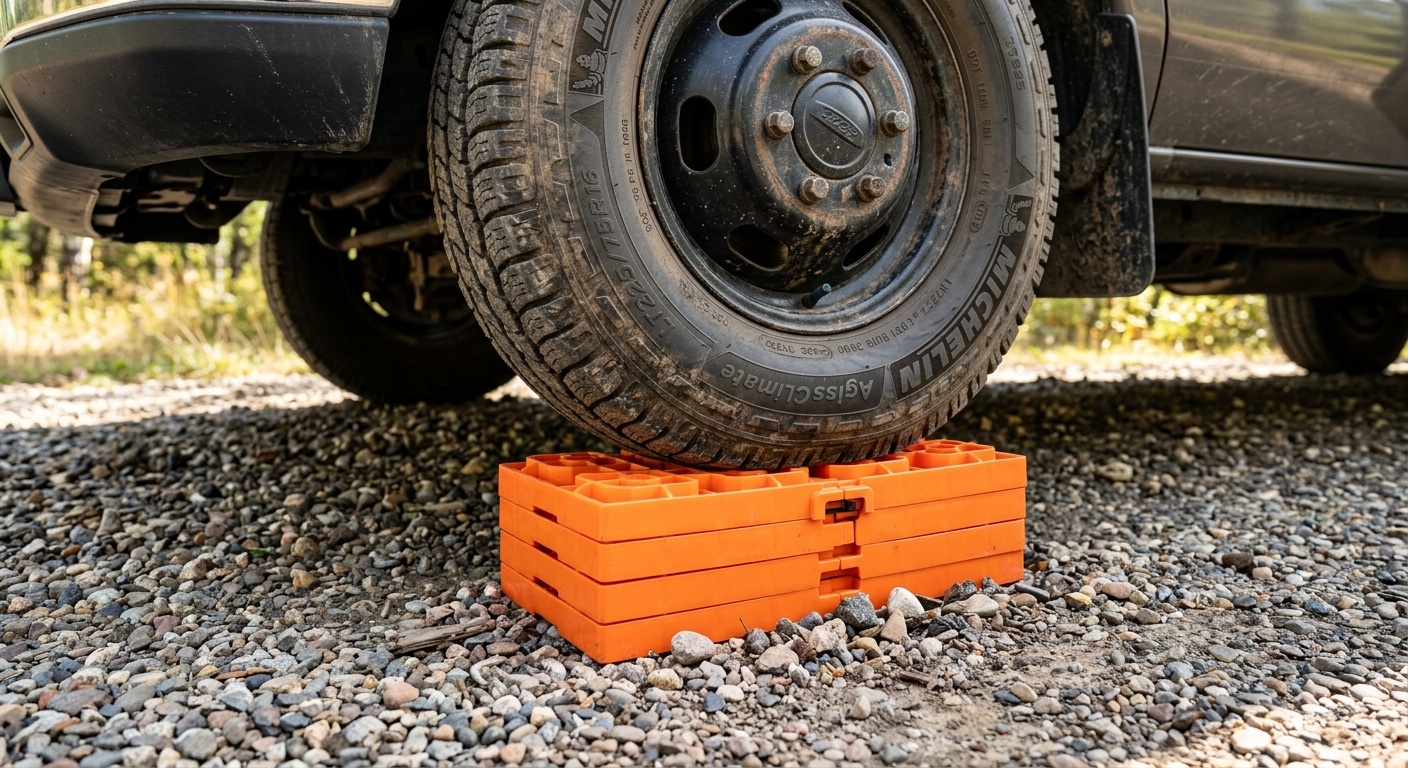
Leveling blocks are simple, stackable platforms you drive your tires onto to raise one side or end of the trailer. Most come in an interlocking design, similar to oversized building blocks, so you can add or remove layers to match how uneven the ground is. A single stack under one set of tires and you've raised that end or side to match the rest.
Blocks are the most budget-friendly leveling method and they work on almost any terrain, gravel, grass, or packed dirt. The tradeoff is setup time. On a badly sloped site you may need to stack several blocks per tire, and you're doing some trial and error, backing up, checking the bubble level, and adjusting the stack until it's right.
A quick safety note: never stack loose wood blocks in place of purpose-built ones for regular use. Wood shifts, splits, and rots with moisture exposure, which isn't a risk worth taking with the full weight of a loaded trailer resting on it. It's fine in a pinch, but it shouldn't be your go-to.
RV Leveling Jacks: Manual and Power Options
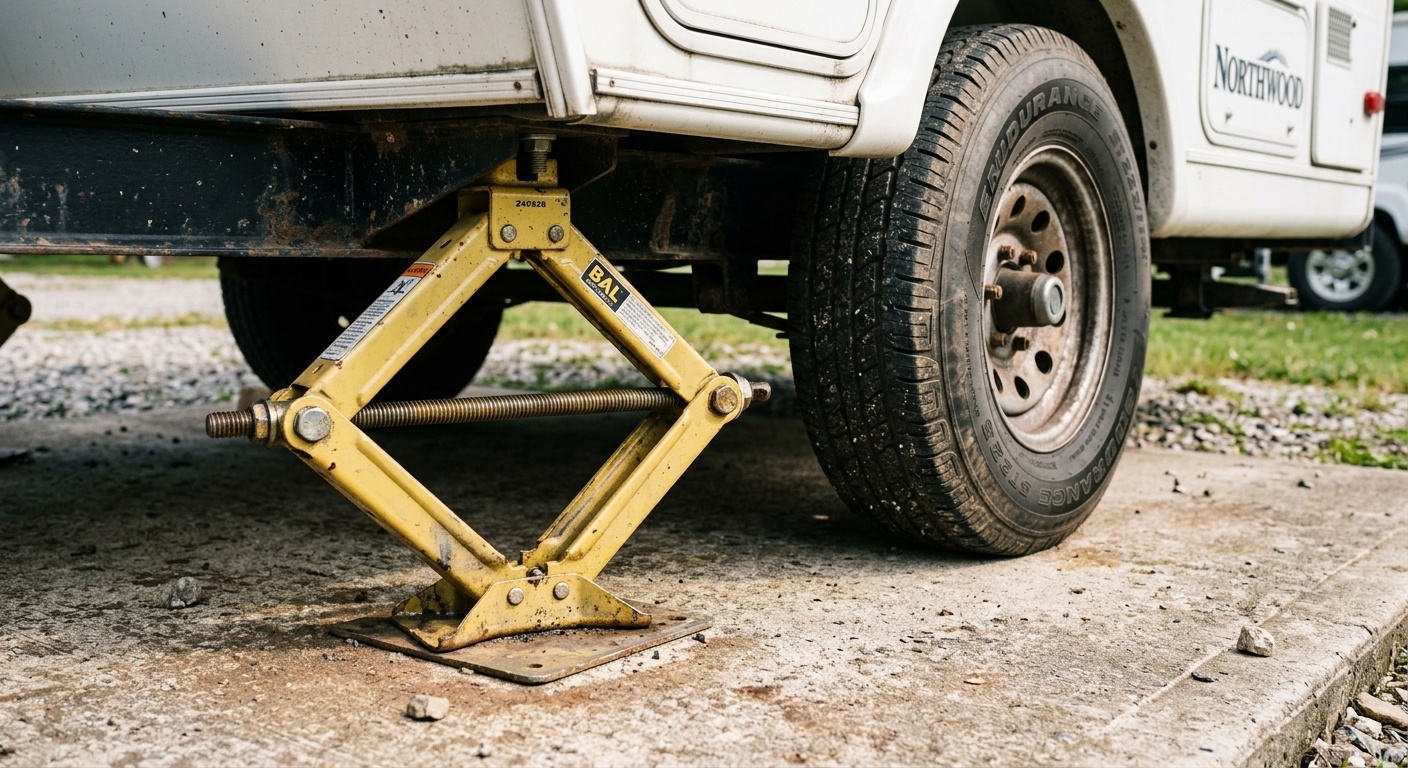
Leveling jacks lift the trailer itself rather than the tires, and they're built to bear that load. Manual jacks use a crank handle to raise or lower an A-frame trailer's tongue, and they're a reliable, no-frills way to fine-tune front-to-back level once the side-to-side leveling is done with blocks.
Power jacks do the same job electrically, with the push of a button instead of manual cranking. They're faster to operate and worth the upgrade if you're setting up and breaking down camp often, since they cut a repetitive chore down to seconds.
Either way, jacks are doing real lifting work, which is worth keeping straight when you get to stabilizer jacks below.
Stabilizer Jacks: Not the Same Job as Leveling
This is where most confusion happens. Scissor jacks and king pin stabilizer jacks are meant to reduce the bounce and sway you feel walking around inside a parked RV. They are not designed to lift or level the trailer, and using them that way puts stress on hardware built for a much lighter job. RV component manufacturer Lippert is direct about this: stabilizer jacks should never be used to level a camper, since they're built only to support, not lift.
The correct order of operations: level the trailer first with blocks or leveling jacks, then drop your stabilizer jacks to remove the last bit of sway. Skip the leveling step and stabilizers alone won't fix a lopsided trailer, they'll just get stressed trying.
Levels and Level Indicators: How to Know You're Actually Level
None of the tools above matter much if you can't tell when you've hit level. A basic bubble level mounted on the trailer's exterior, one for side-to-side and one for front-to-back, gives you a fast visual read before you start adjusting anything. Cross-check styles combine both readings into a single mounted unit, which some owners find easier to glance at while backing onto blocks.
Whichever style you use, mount it somewhere visible from outside the trailer so you can check your progress without climbing in and out.
Blocks vs Jacks vs Levelers: Which Do You Actually Need
Most trailer owners end up using a combination rather than picking just one. Here's how the three break down:
|
Tool |
What it does |
Best for |
|---|---|---|
|
Leveling blocks |
Raises tires to correct side-to-side or front-to-back slope |
Uneven ground, budget setups, most travel trailers |
|
Leveling jacks (manual or power) |
Lifts the trailer frame directly, usually the tongue |
Fine-tuning front-to-back level on A-frame trailers |
|
Stabilizer jacks (scissor, king pin) |
Reduces interior movement after leveling |
Every setup, but only after the trailer is already level |
|
Levels and indicators |
Tells you when you've actually reached level |
Every setup, every time |
If you're new to RVing, blocks plus a leveling jack for the tongue covers most campsites you'll encounter in Atlantic Canada, from gravel provincial park pads to grassy overflow lots. Add stabilizer jacks once you're level, every time, since sway control matters even on a flat site.
How to Level Your Trailer, Step by Step
- Park roughly where you want to set up and check your bubble levels for side-to-side and front-to-back slope.
- If one side needs raising, back onto stacked leveling blocks under the low-side tires until the side-to-side level reads flat.
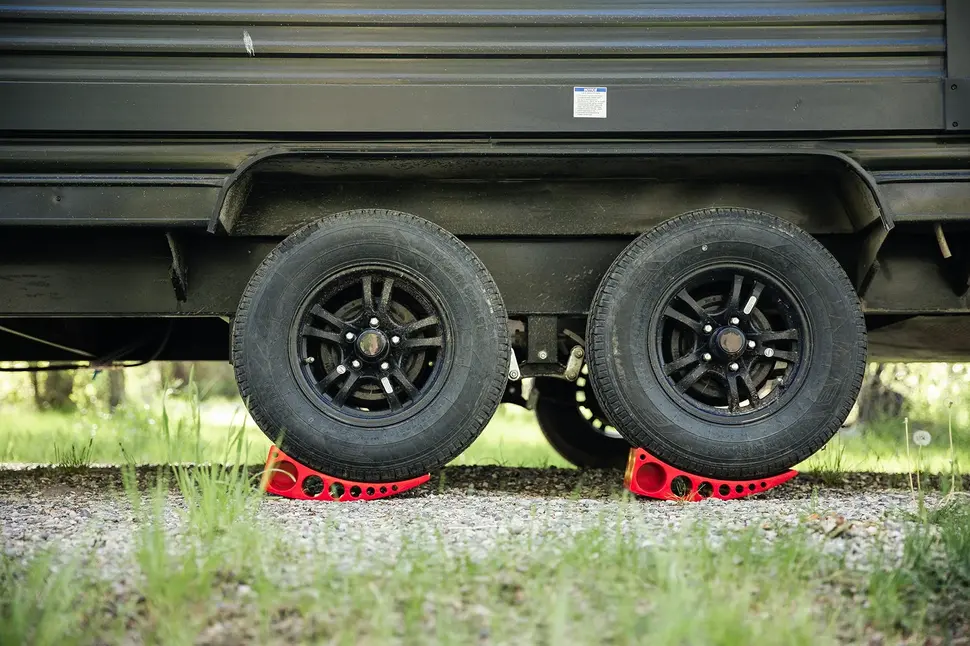
- Chock the wheels on the opposite side to stop any rollback once you're off the blocks.
- Use your tongue jack (manual or power) to correct front-to-back level.
- Recheck both levels. Small adjustments here save you from redoing the whole process later.
- Once level, lower your stabilizer jacks until they contact the ground firmly. They should support, not lift, so don't crank them hard.
- Do a final walk-through. If the trailer still rocks noticeably, revisit your stabilizer jack placement before assuming you need to relevel.
Frequently Asked Questions
Should you put blocks under stabilizer jacks?
Yes, especially on soft or uneven ground. A block or dedicated footpad under a stabilizer jack keeps it from sinking into grass, gravel, or mud over a multi-day stay.
Is it okay for RV wheels to be off the ground when leveling?
No. Leveling blocks and jacks are meant to raise the trailer to a level position, not lift the wheels clear of the ground. Tires should stay in contact with the ground or blocks at all times.
What can I use instead of RV leveling blocks?
In a pinch, dimensional lumber cut to size works temporarily, but it's not a long-term substitute. Wood degrades with weather exposure in a way purpose-built blocks don't.
How many leveling blocks do you need for an RV?
Most owners keep a set of eight to ten on hand. Larger trailers or particularly uneven campsites sometimes call for two stacks per side.
Once your trailer is level and stabilized, campsite setup stops being a guessing game. If you need manual jacks, power jacks, stabilizer jacks, or bubble levels to round out your setup, our full lineup of jacks and levelers is in stock and ready to ship, or stop by the shop at 745 Route 133 in Boudreau-Ouest and we'll help you pick the right combination for your rig.
For more on getting your trailer road-ready, see our guide on choosing the right wheel chocks for your setup, and check back for the next two guides in this series: scissor jacks vs. stabilizer jacks, and jacks for 5th wheel and A-frame trailers
Recent articles
View all
RV & BBQ Propane Regulators: Single-Stage vs Two-Stage