Spring RV Setup: How to Check Your Sewer System Before Your First Trip

Before your first trip of the season, check your dump valves for leaks and smooth operation, inspect your sewer hose for cracks and fitting wear, flush and treat your holding tanks, and confirm your toilet seal is holding water. Catching a failed valve or cracked hose in your driveway takes twenty minutes. Catching it at a busy campground dump station takes considerably longer.
Why the sewer system needs a dedicated spring check
Atlantic Canada winters are hard on RV sanitation components. Freeze-thaw cycling stresses plastic valve housings and rubber seals. Sewer hoses stored compressed in cold bumper compartments develop surface cracking along the accordion folds. Tank sensors and seals that sat dry all winter need water and treatment before they perform reliably.
Most owners do a walk-around in spring and miss the sewer system entirely because everything looks fine from the outside. The problems are inside the valve blade, at the fitting gasket, and along the underside of the hose where you cannot see without pulling it out.
This check takes less than half an hour and covers everything between your toilet and the dump station inlet.
Step 1: Pull out and inspect the sewer hose
Remove the hose from the bumper storage tube and extend it to its full length. Look specifically at the accordion folds, not just the ends. This is where cracks form first. Run your fingers along the full length, feeling for any roughness, stiffness, or hairline splits in the material.
Check both end fittings. The bayonet fitting on the trailer end should snap and lock cleanly without any wobble. The elbow fitting at the dump station end should have an intact rubber gasket, if it is cracked, flattened, or missing, replace it before your first trip. A missing gasket is a guaranteed leak under flow.
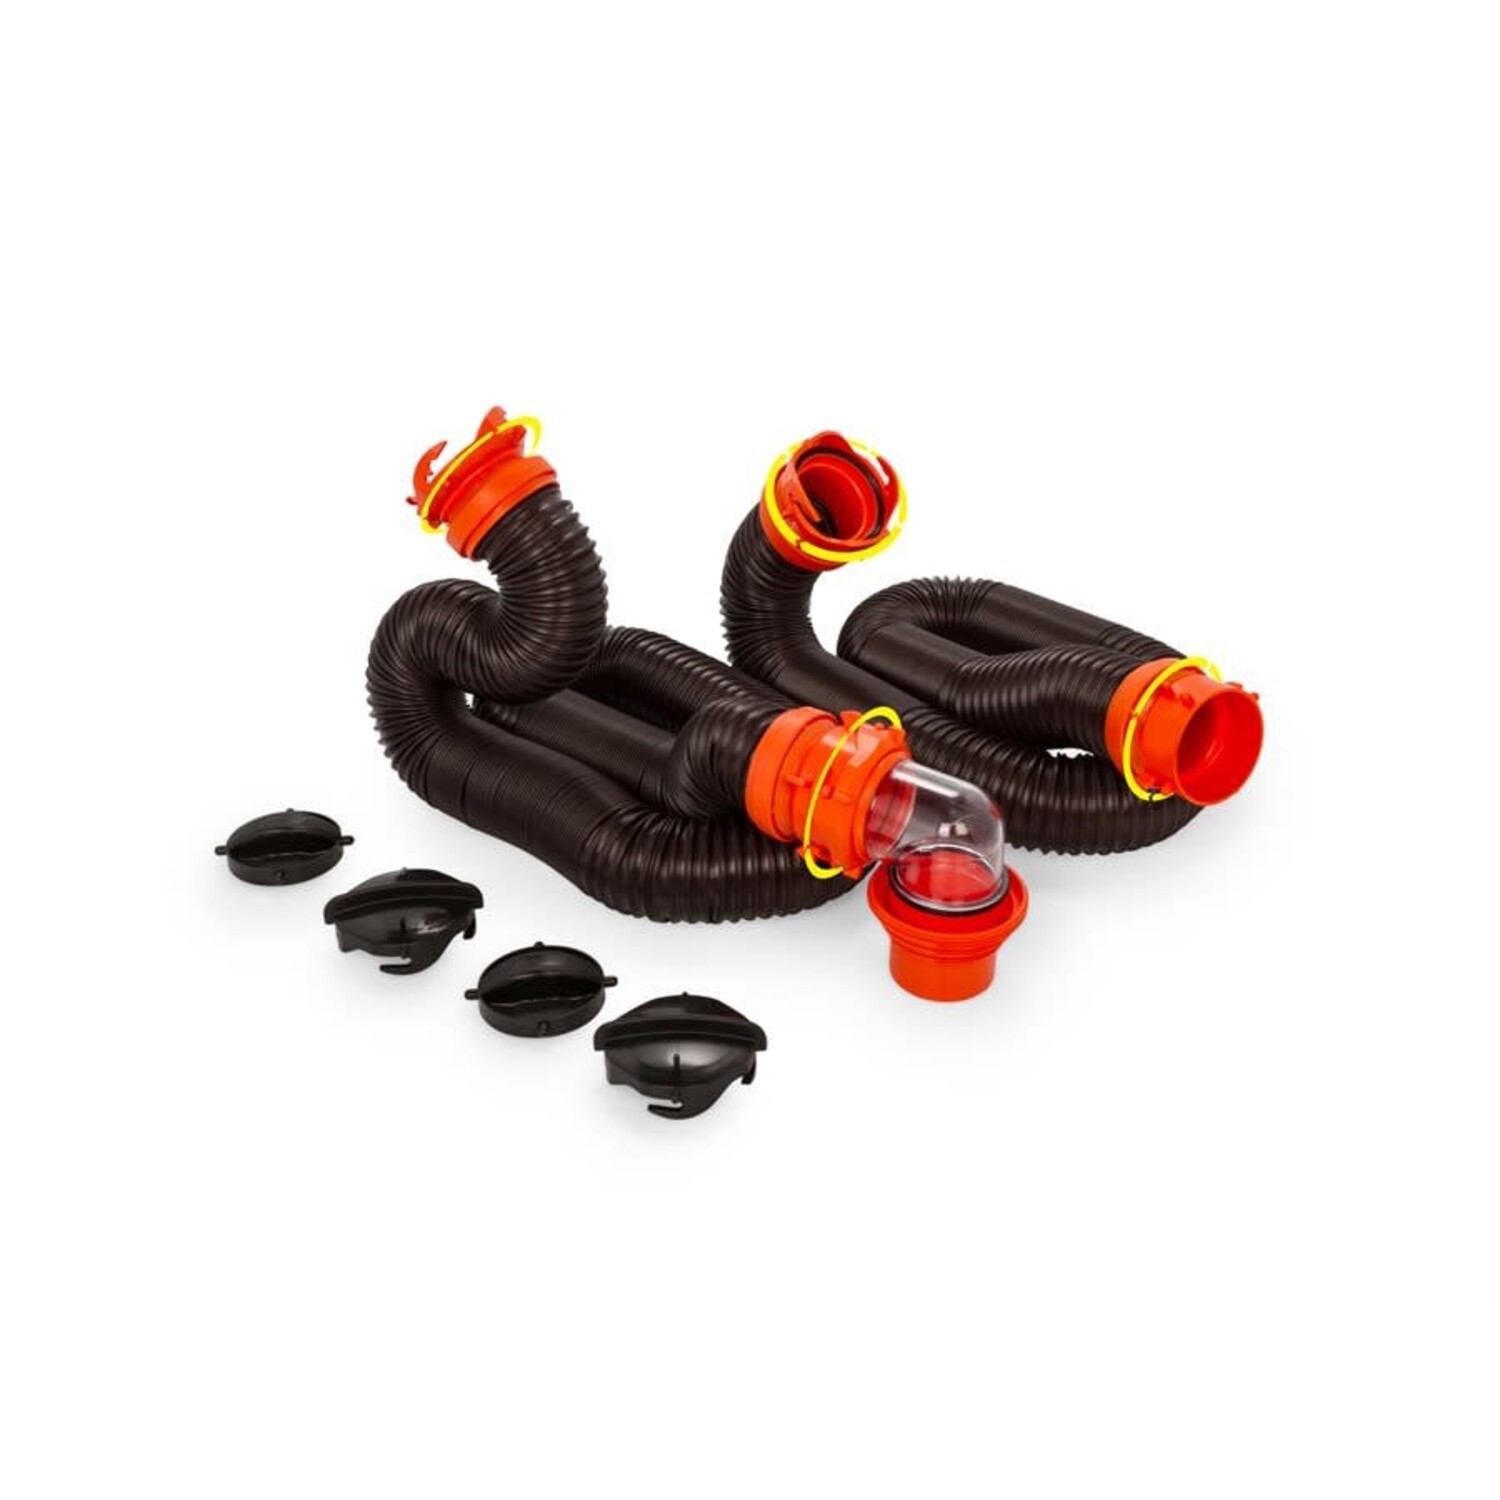
If the hose body has any visible cracks, replace it. There is no field repair for a cracked accordion hose. The RV sewer hoses and accessories collection at The Trailer Guys carries Camco RhinoFLEX kits in 15-foot and 20-foot lengths, Duraflex Gator hoses in 15, 20, and 30-foot lengths, and standard Camco heavy-duty hoses. A hose that cracked over winter costs less to replace now than to deal with mid-dump at a campground.
While the hose is out, check your hose support if you use one. The Camco 20-foot Sidewinder support collapses for storage and keeps the hose elevated and draining properly, worth having if you do not already.
Step 2: Test your dump valves before connecting anything
This step catches the most expensive surprises. With the trailer at home and no hose connected, open and close both the black tank valve and the grey tank valve by hand. You are checking for two things: smooth operation and a clean seal when closed.
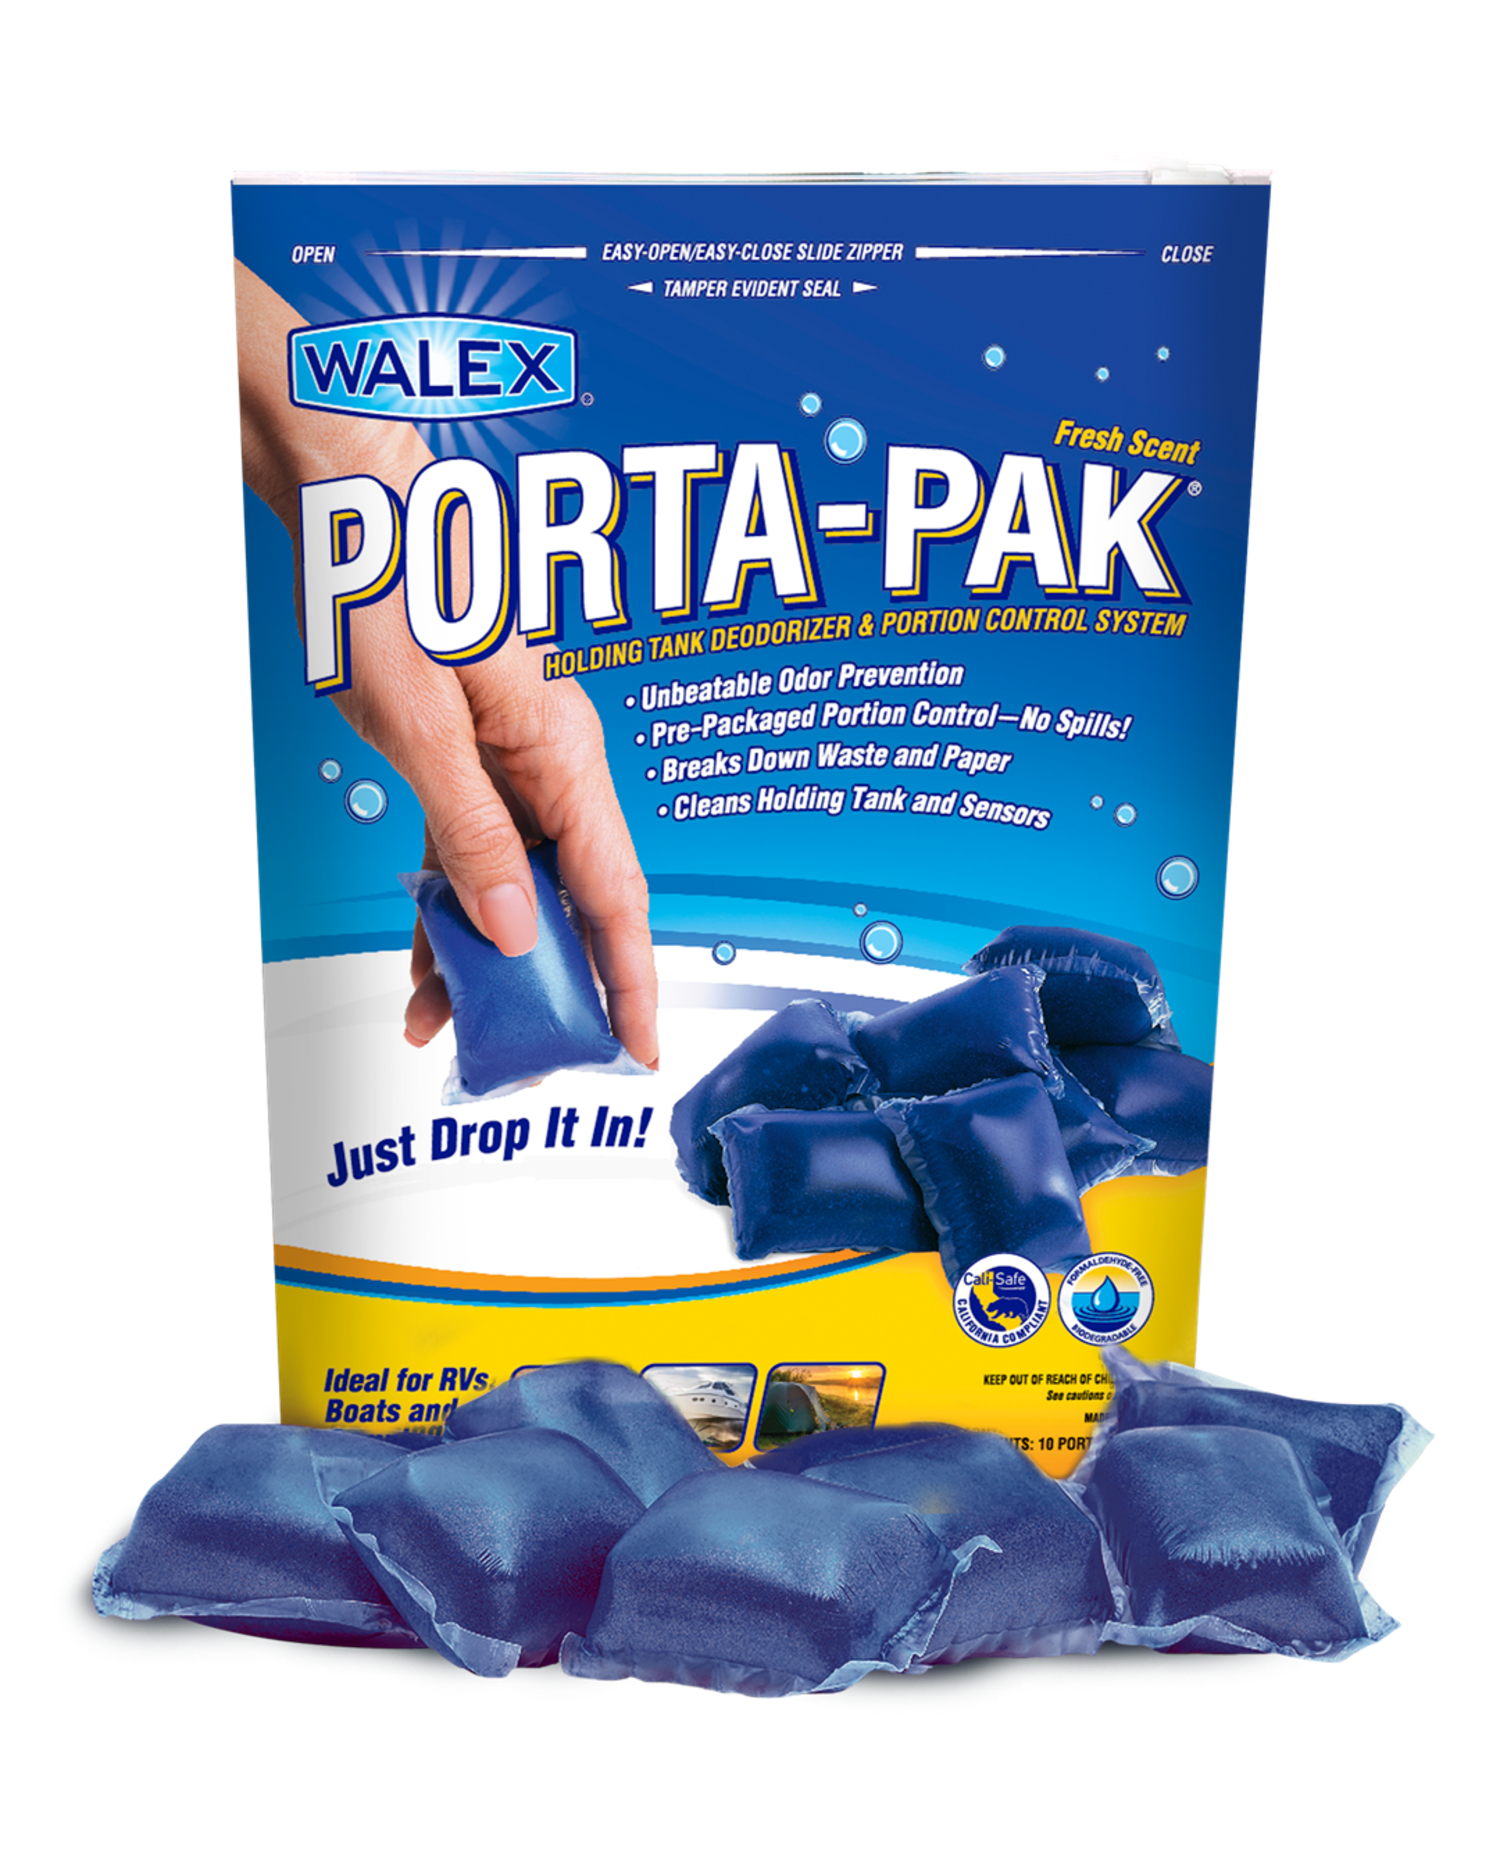
A valve that is stiff or requires real force to move has dried waste or mineral buildup on the blade. Do not force it. Add water and a valve-lubricating tank treatment, let it sit for a few hours, then try again. Camco TST and Walex Porta-Pak both lubricate valve seals as part of their treatment function.
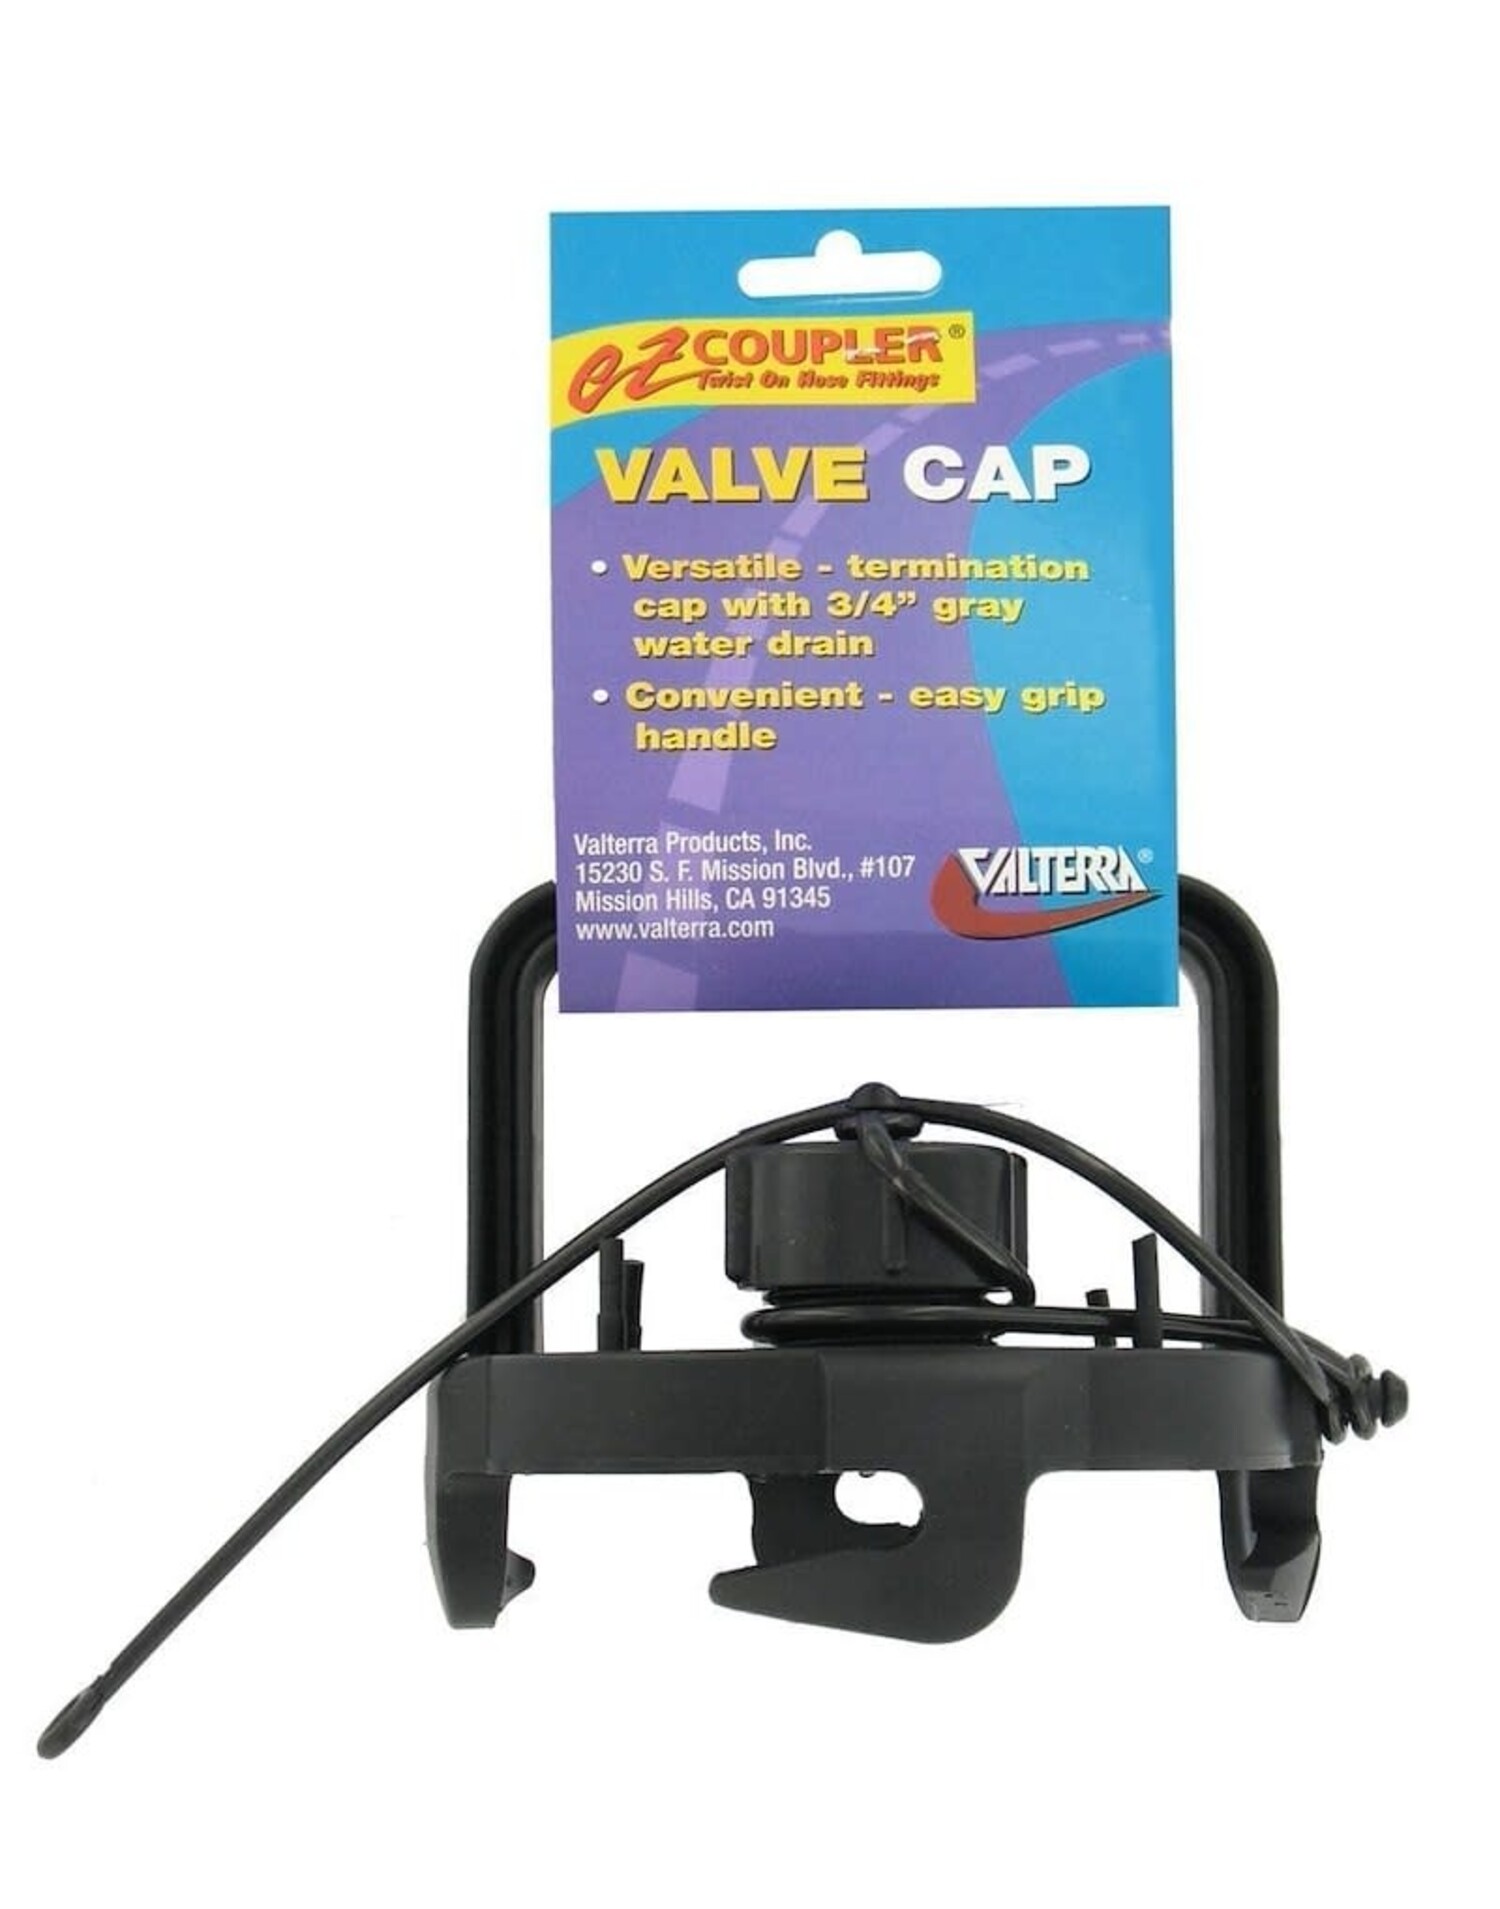
A valve that moves freely but drips from the outlet when closed has a worn blade seal. This is a normal wear item — the seal does not last forever and it fails more often on trailers that sit through cold winters with the valve in the open position (a common winterization mistake). Replacement gate valves and blade seals are stocked in the RV drain and waste valves section. Replacing a gate valve is a straightforward job and something the team at The Trailer Guys handles regularly if you want it done in-shop.
Step 3: Flush and treat the holding tanks
If your tanks were left empty after winter storage, add several gallons of water to the black tank before your first dump and add a tank treatment with it. An empty tank that sat dry all winter can have residual odour and dried material on the walls that a first-use flush will not fully clear.
Camco TST Orange (liquid, drop-in, or single-dose bottle), Thetford AquaMax, Walex Porta-Pak, and RV-BOSS concentrated formula are all stocked at The Trailer Guys in formats suited to different preferences, liquid for those who dose by volume, drop-ins for those who want a pre-measured single-tank dose. All are formaldehyde-free and campground-safe. Browse the full RV holding tank treatments to pick the format that works for your setup.
Do not forget the grey tank. Add a grey water treatment like Walex Elemonate or Camco TST Grey Water Odour Control to the kitchen sink drain at the start of the season. Grey tanks that sit without treatment develop a grease and organic buildup that gets worse each season it is ignored.
Step 4: Check the toilet seal
Fill the toilet bowl with water and leave it for fifteen minutes. Come back and check the water level. If it has dropped, the toilet seal is letting water through into the black tank — which also means it is letting sewer gases come back up when the bowl is dry.
A slow-draining seal is usually caused by debris on the seating surface that prevents a clean contact. Clean the seal lip gently with a damp cloth and test again. If it still leaks, the seal needs to be replaced. RV toilet parts including seals are stocked in the sanitation section at The Trailer Guys.
Step 5: Do a full system test before leaving home
Once everything has been inspected and any worn parts replaced, do a live test in your driveway before the first trip. Connect the sewer hose, confirm the bayonet locks, and dump a tank. Watch the clear elbow on the RhinoFLEX hose as the tank empties — you want to see clean flow and no drips at either connection point.
If you use a hose support, set it up for this test too. A supported hose drains faster and puts less stress on the fittings than one sagging in the middle.
This ten-minute test at home is worth more than any amount of gear packed in the truck. Finding a hose drip or a valve leak in your driveway means a quick fix before you go. Finding it at a campground means something unpleasant in front of a lineup of trailers waiting for the dump station.
Spring sewer checklist at a glance
-
Extend hose fully and check accordion folds for cracks
-
Inspect both end fittings and elbow gasket
-
Open and close black and grey tank valves — check for stiffness and leaks
-
Flush and treat both tanks with fresh water and treatment product
-
Test grey water treatment in kitchen drain
-
Check toilet seal with a 15-minute water hold test
-
Do a live hose-connected dump test before the first trip
Everything you need for this check — hoses, fittings, valve hardware, and tank treatments — is stocked at The Trailer Guys at 745 Route 133, Boudreau Ouest, New Brunswick, with Canada-wide shipping. Call or text the team if you want help identifying a replacement part before ordering.
Frequently asked questions
Do I need to sanitize my RV sewer system after winter storage?
You do not need to sanitize the black or grey tank the way you sanitize a fresh water system. Flushing the tanks thoroughly with fresh water, adding a tank treatment, and running a full dump cycle before your first trip is sufficient for most trailers that were stored properly.
How do I know if my RV black tank valve is leaking versus just wet from condensation?
A leaking valve produces a steady drip from the outlet when the valve has been closed for several hours with liquid in the tank. Condensation dries within 30 minutes. If the outlet is still dripping after a couple of hours, the blade seal has worn out and the valve needs to be replaced.
Can I leave my dump valve open over winter in storage?
No. Leaving the black tank valve open during storage allows the liquid barrier to evaporate, which lets sewer gases into the trailer and can allow the seal to dry out and crack. Close both valves for storage. Leave the grey tank valve open only if the trailer is connected to a sewer hookup at a storage site — and even then, disconnect and close before moving.
How often should I replace my RV sewer hose?
A quality hose stored properly and used seasonally should last three to five seasons. Hoses stored compressed in direct sunlight or left outside through Atlantic Canada winters degrade faster. Check the accordion folds at the start of every season — visible surface cracking means it is time to replace it.
Where can I buy RV sewer parts and tank treatments in Atlantic Canada?
The Trailer Guys carry a full range of RV sanitation supplies at 745 Route 133, Boudreau Ouest, New Brunswick, sewer hoses, fittings, gate valves, tank treatments, and hose supports — all with Canada-wide shipping. Contact the team by phone or text for help identifying the right part for your trailer.
Recent articles
View all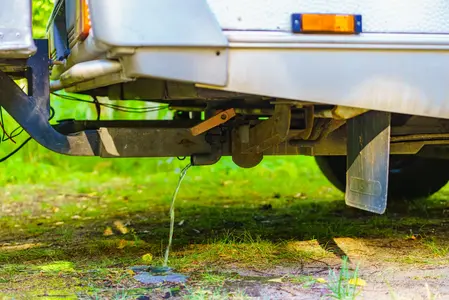
Common RV Sewer Problems and How to Prevent Them
RV Sewer Hose Leaking: What Causes It and How to Fix It